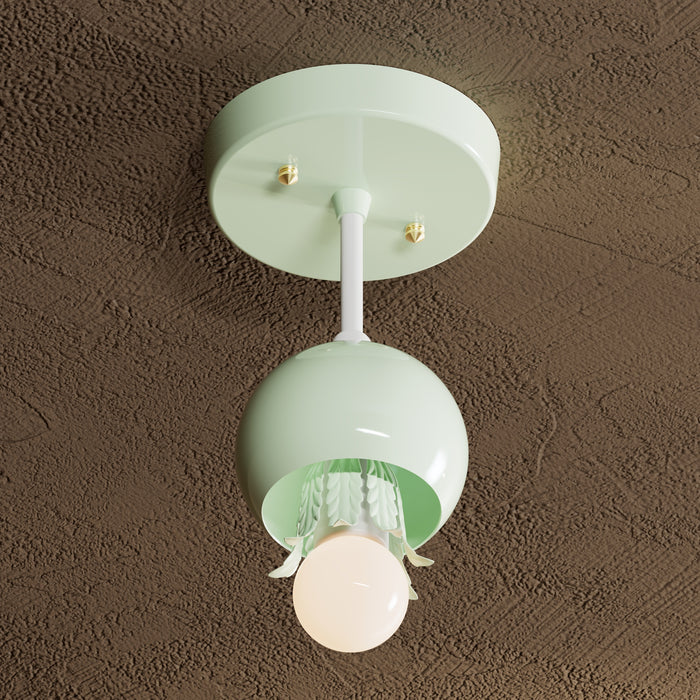
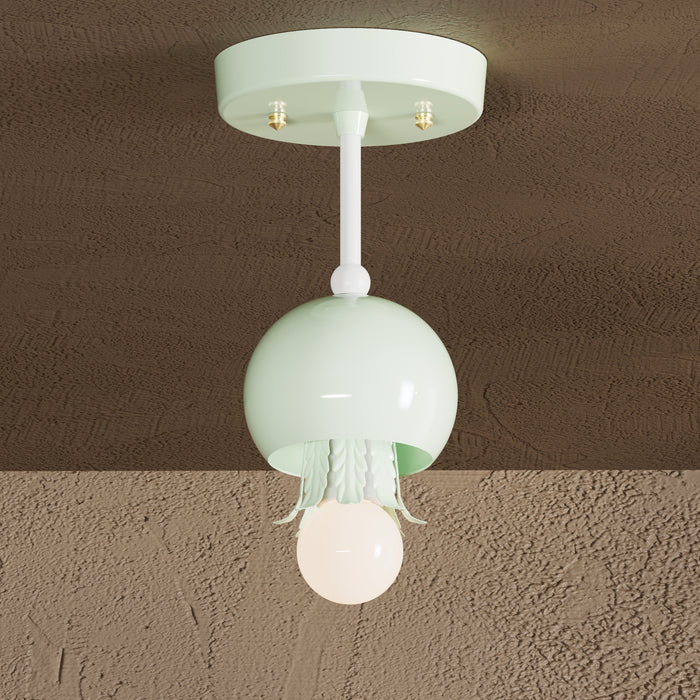
When it comes to light sources for your kitchen, you have numerous options. But the popular choice for many homeowners is to get pendant lights above their new kitchen islands. Here’s a kitchen island lighting guide on how to hang pendant lights. We’ll break down the benefits of pendant lights and take you through the steps of installing your own!
Why Pendant Lights Are Ideal for Kitchen Islands
In recent years, the large kitchen island has grown in popularity among homeowners and designers to the point where almost all new kitchens with enough space have one. Kitchen islands are excellent practical additions to kitchens, as they offer more counter and storage space. They also act as a gathering place for the household other than the dining room table.
But these large kitchen islands need task lighting for people to gather around, prepare food, cook, and work. That’s where the pendant lights come in. Hanging pendant lights are ideal for large kitchen islands because they offer suitable illumination while being focal décor pieces for kitchens.
Benefits of Pendant Lights
There are numerous benefits of handmade pendant lights, whether they’re hanging over a large kitchen island or your dining room table. There are plenty of reasons to go with pendant lighting, from their illumination to their installation and design versatility!
Easy To Install
As we’ll get into later, pendant lights are easy to install for nearly everyone. No extensive knowledge or experience of light fixtures or installation is necessary. Since you can put them in yourself, you can save money on labor charges that you would have to shell out for other light fixtures.
Affordable
Since you install pendant lights yourself, you don’t have to hire a professional to install them as you would with large overhead lights or recessed lights. Plus, since pendants are so popular and so many options are available, you can almost guarantee you’ll find a pendant light that fits your style and budget.
Less Glare
Hanging pendant lights typically focus their illumination on a single spot or come with a covered shade to diffuse the light. The singular focus of the pendants creates a pleasant ambiance and reduces the glare you would generally get from bright recessed or overhead lights.
Focused Illumination
Pendant lights are excellent for layered task lighting in kitchens or other rooms. Instead of using a large and overly bright overhead light for everything, you can opt for focused and more intimate pendant lighting for more comfortable illumination.
Save Space
Unlike lamps or recessed lighting, pendants don’t take up space on your counter or underneath your cabinet! Pendant lights suspended in the air don’t occupy too much room or get in the way as long as you hang them at the correct height.
Design Versatility
One of the significant reasons pendant lights are so prevalent in kitchens is that they can fit in practically any style! The wide variety of pendant light styles means they can blend seamlessly with any kitchen style you can think of, including:
- Modern
- Contemporary
- Transitional
- Minimalistic
- Industrial
- Mid-century modern
How To Hang a Pendant Light Above Your Kitchen Island
Now you know the benefits of pendant lights and have decided you want one above your kitchen island—great! We’ll take you through the basic steps and things you should know to install it correctly!
The odds are that your new pendant light will come with installation instructions. So you should closely follow the instructions for your specific fixture. Here are the basic steps to setting up your new pendant light.
Before Hanging: What You’ll Need
Before you get started, you’ll need a few things, including a screwdriver, voltage tester, ladder (if you can’t reach the ceiling without one), wire stripper, level, and wire nuts. Your pendant light fixture should come with a list of any other tools you’ll need for installation.
Also, make sure you know the exact height you want your pendant light to hang before beginning the installation process. Experts recommend hanging pendant lights between 30 to 36 inches above the countertop for a kitchen island. But you can adjust to your preference.
Step 1: Turn Off the Power
You don’t want any short-circuits or accidents. That’s why turning off the power at your electrical panel is the first step. Flip the circuit breakers and double-check that the correct breaker is off using the voltage tester.
Step 2: Remove Old Light Fixture
If you’re replacing an old fixture with a new one, you’ll have to remove that old one. Use your screwdriver to take out the screws while holding the casing and fixture. You don’t want it falling and breaking!
Step 3: Note the Wire Connections
Now that you’ve removed the old light fixture and casing, you can get a good look at the wire connections. If your home was built after 1970, it should have three wires: a ground wire, a neutral wire, and a hot wire.
Colors vary, but the hot wire is typically black or red, the neutral wire is white or gray, and the ground wire is green or bare copper. Take notes of the connections, specifically which ceiling wires connects to the hot and neutral fixture wires. You’ll want to replicate those connections with the new fixture.
Pro-Tip: Take a clear photo of the wire connections so that you don’t forget anything when it’s time to connect the new fixture.
Step 4: Disconnect Wires
First, you’ll want to disconnect the hot wires before disconnecting the neutrals and ground wires. Set aside the old fixture out of the way and remove any leftover mounting plate or hardware.
Step 5: Install a Mounting Bracket
Once you disconnect the wires, you can install the mounting bracket, plate, or strap that your new pendant light came with. Use screws to attach it to the junction box, using a level to ensure it fits straight.
Step 6: Gauge the Height
At this point, you’ll want to double-check the height for your new pendant light looks good. Hold up the fixture to where it will hang over your kitchen island. Adjust the suspension and wires if necessary to achieve the desired hanging height.
Step 7: Attach New Wires
If you must, you should strip the insulation of the wires to attach them. If you have a lot of weight to deal with from the fixture, get someone else to help to lift the pendant while you connect it.
Connect the ground wire first, then the neutral and the hot. Use your wire nuts to secure each set of cables firmly and safely.
Step 8: Close the Junction Box
Once you adequately connect your wires, it’s time to close the junction box. Ensure all the cables are tucked neatly into the box and seal it up with the screws.
Step 9: Install the New Light and Test It
If you have a shade cover for your fixture, go ahead and install that now. Double-check that you have a bulb with the recommended wattage and install it. You’re done!
All that’s left is to turn the power back on and test the light! If it doesn’t work, you may want to go back and double-check your wire connections. Otherwise, congrats, you have a new pendant light!
We hope our kitchen island lighting guide on how to hang pendant lights has helped you choose your next kitchen island light source and showed you how easy it is to install! If you have any questions about pendant lights for your kitchen, consult the experts at Velora.
